Monitor encrypted TLS SIP traffic with Asterisk, module res_hep and sngrep
If your SIP traffic is TLS enrypted, it becomes impossible to monitor it with nice visual tools like sngrep. sngrep…
If your SIP traffic is TLS enrypted, it becomes impossible to monitor it with nice visual tools like sngrep. sngrep…
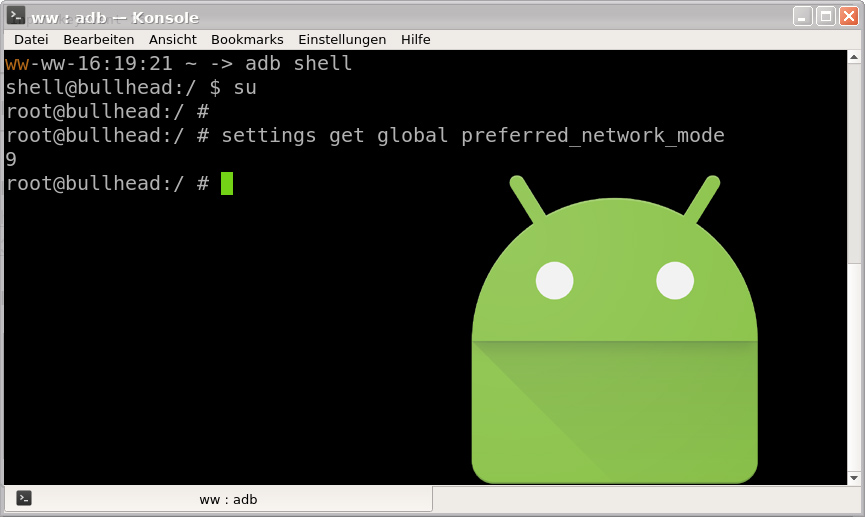
This blog post explains how to change the preferred network mode on Android 15 with shell commands. 2G 3G 4G…
Mit folgender Config habe ich eine verschlüsselte Verbindung der SIP-Signalisierung mit TLS und der RTP-Sprachkanäle mit SRTP zum Provider dus.net…
Hier sammele ich Kleinigkeiten, die im Umgang mit Proxmox helfen können. Container manuell mounten Falls man sich einen Container zerschossen…
Proxmox ist phantastisch. Die Netzwerkkonfiguration ist sehr flexibel. Alles was der Kernel ermöglicht ist auch umsetzbar. Hier eine funktionierende Konfiguration…
I wanted to forward SMS text messages to email. Tasker has an email action, but it won’t automatically send the…
Vodafone, Vodafone, das hat Nerven gekostet. Ein Kunde mit Asterisk Telefonanlage wurde im Zuge der ISDN-Abschaltung auf einen „Vodafone IP…
Lineages gps.conf for the A1 didn’t work good for my device. This configuration gives me a GPS fix within 10…
I had a few problems making Arch work properly with the Tuxedo InfinityBook Pro 14 v5. I will share my…
I was looking for a quick way to generate binaural beats on the fly from the Linux console. The „play“…
Time for bleeding ears: – Mount /etc read/writeable with your favourite file explorer (Root Explorer can do it for example)…
If you are using an automation app like Tasker, Llama or Automate, you can toggle / turn on / turn…